Uncategorized
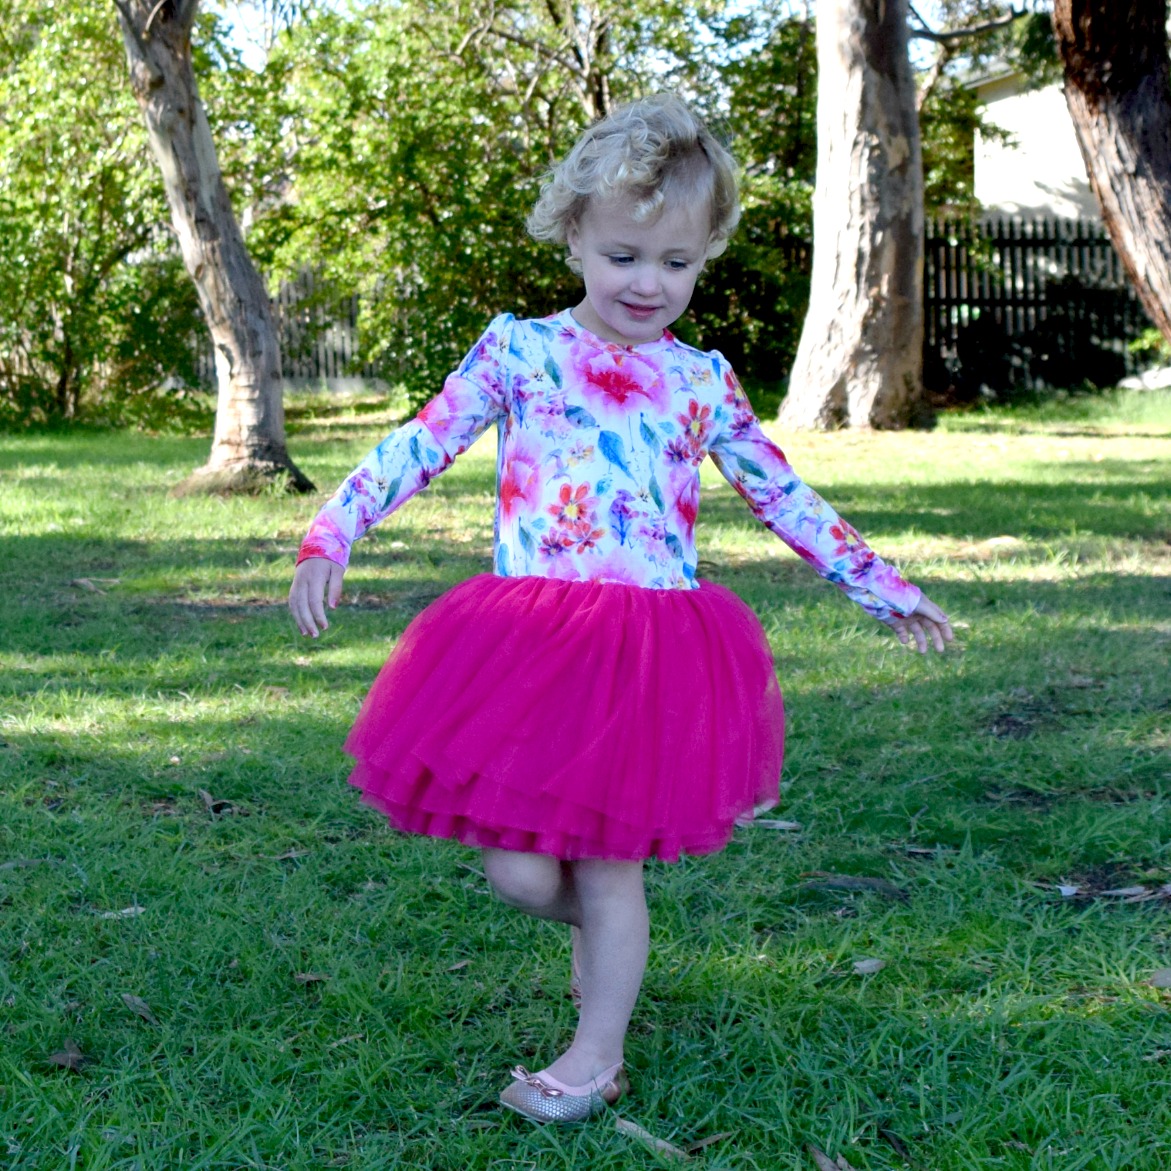
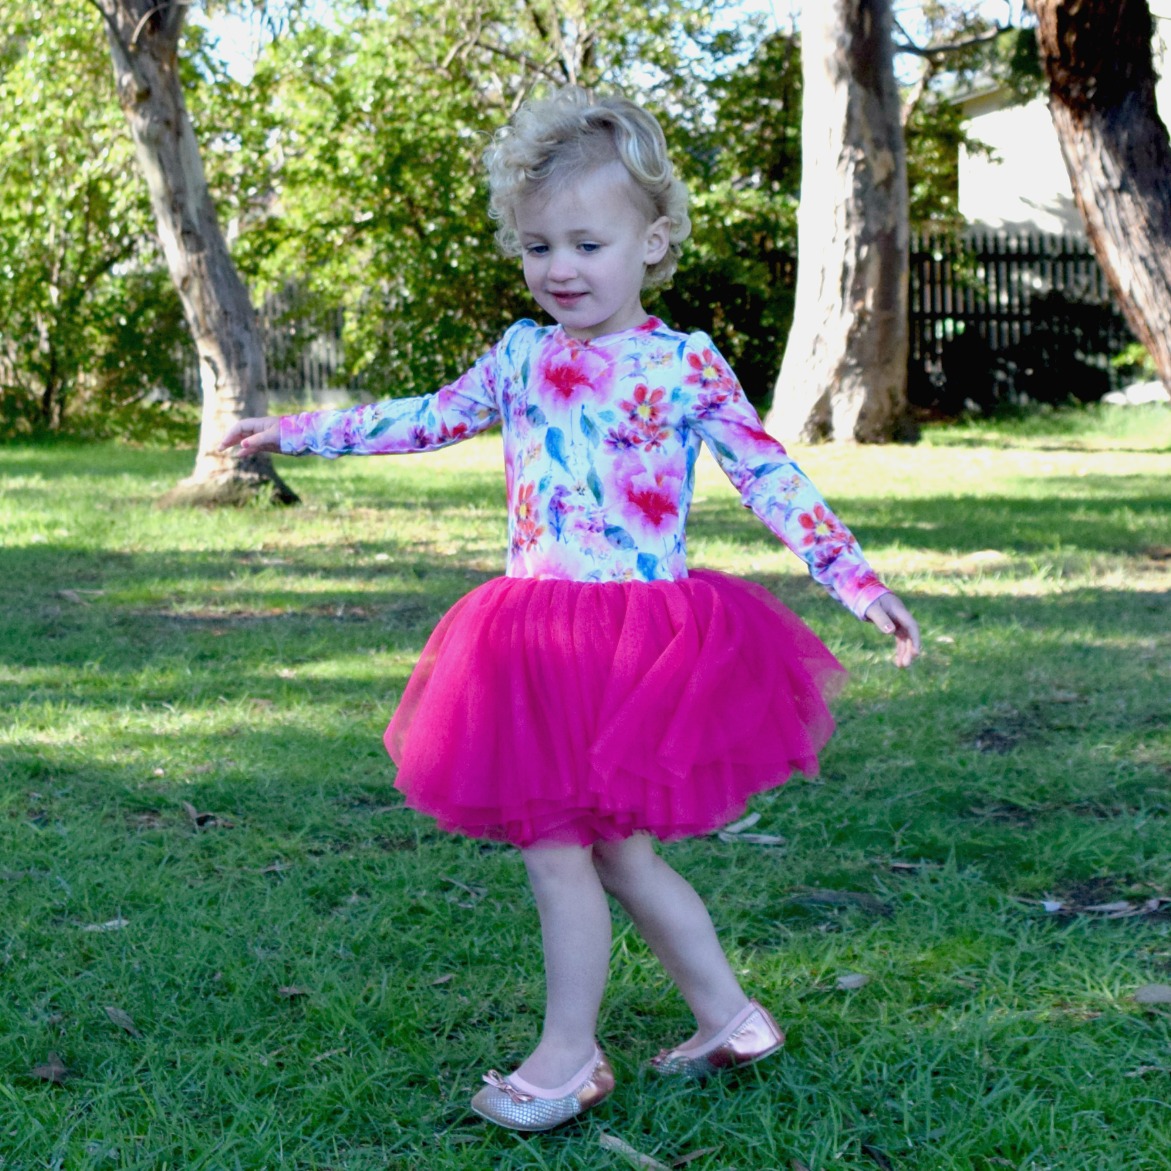
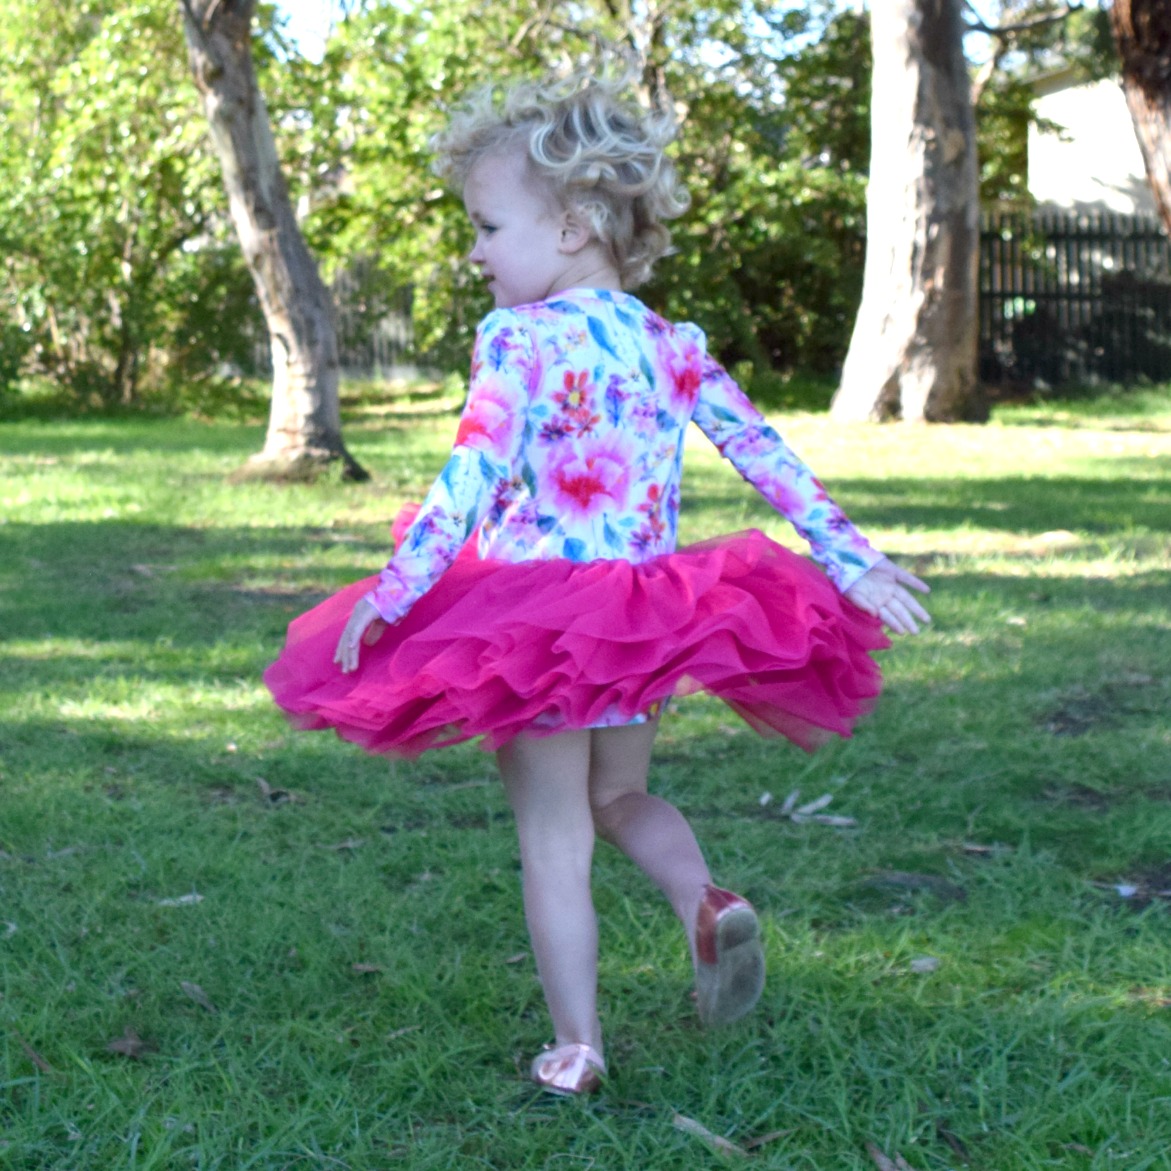
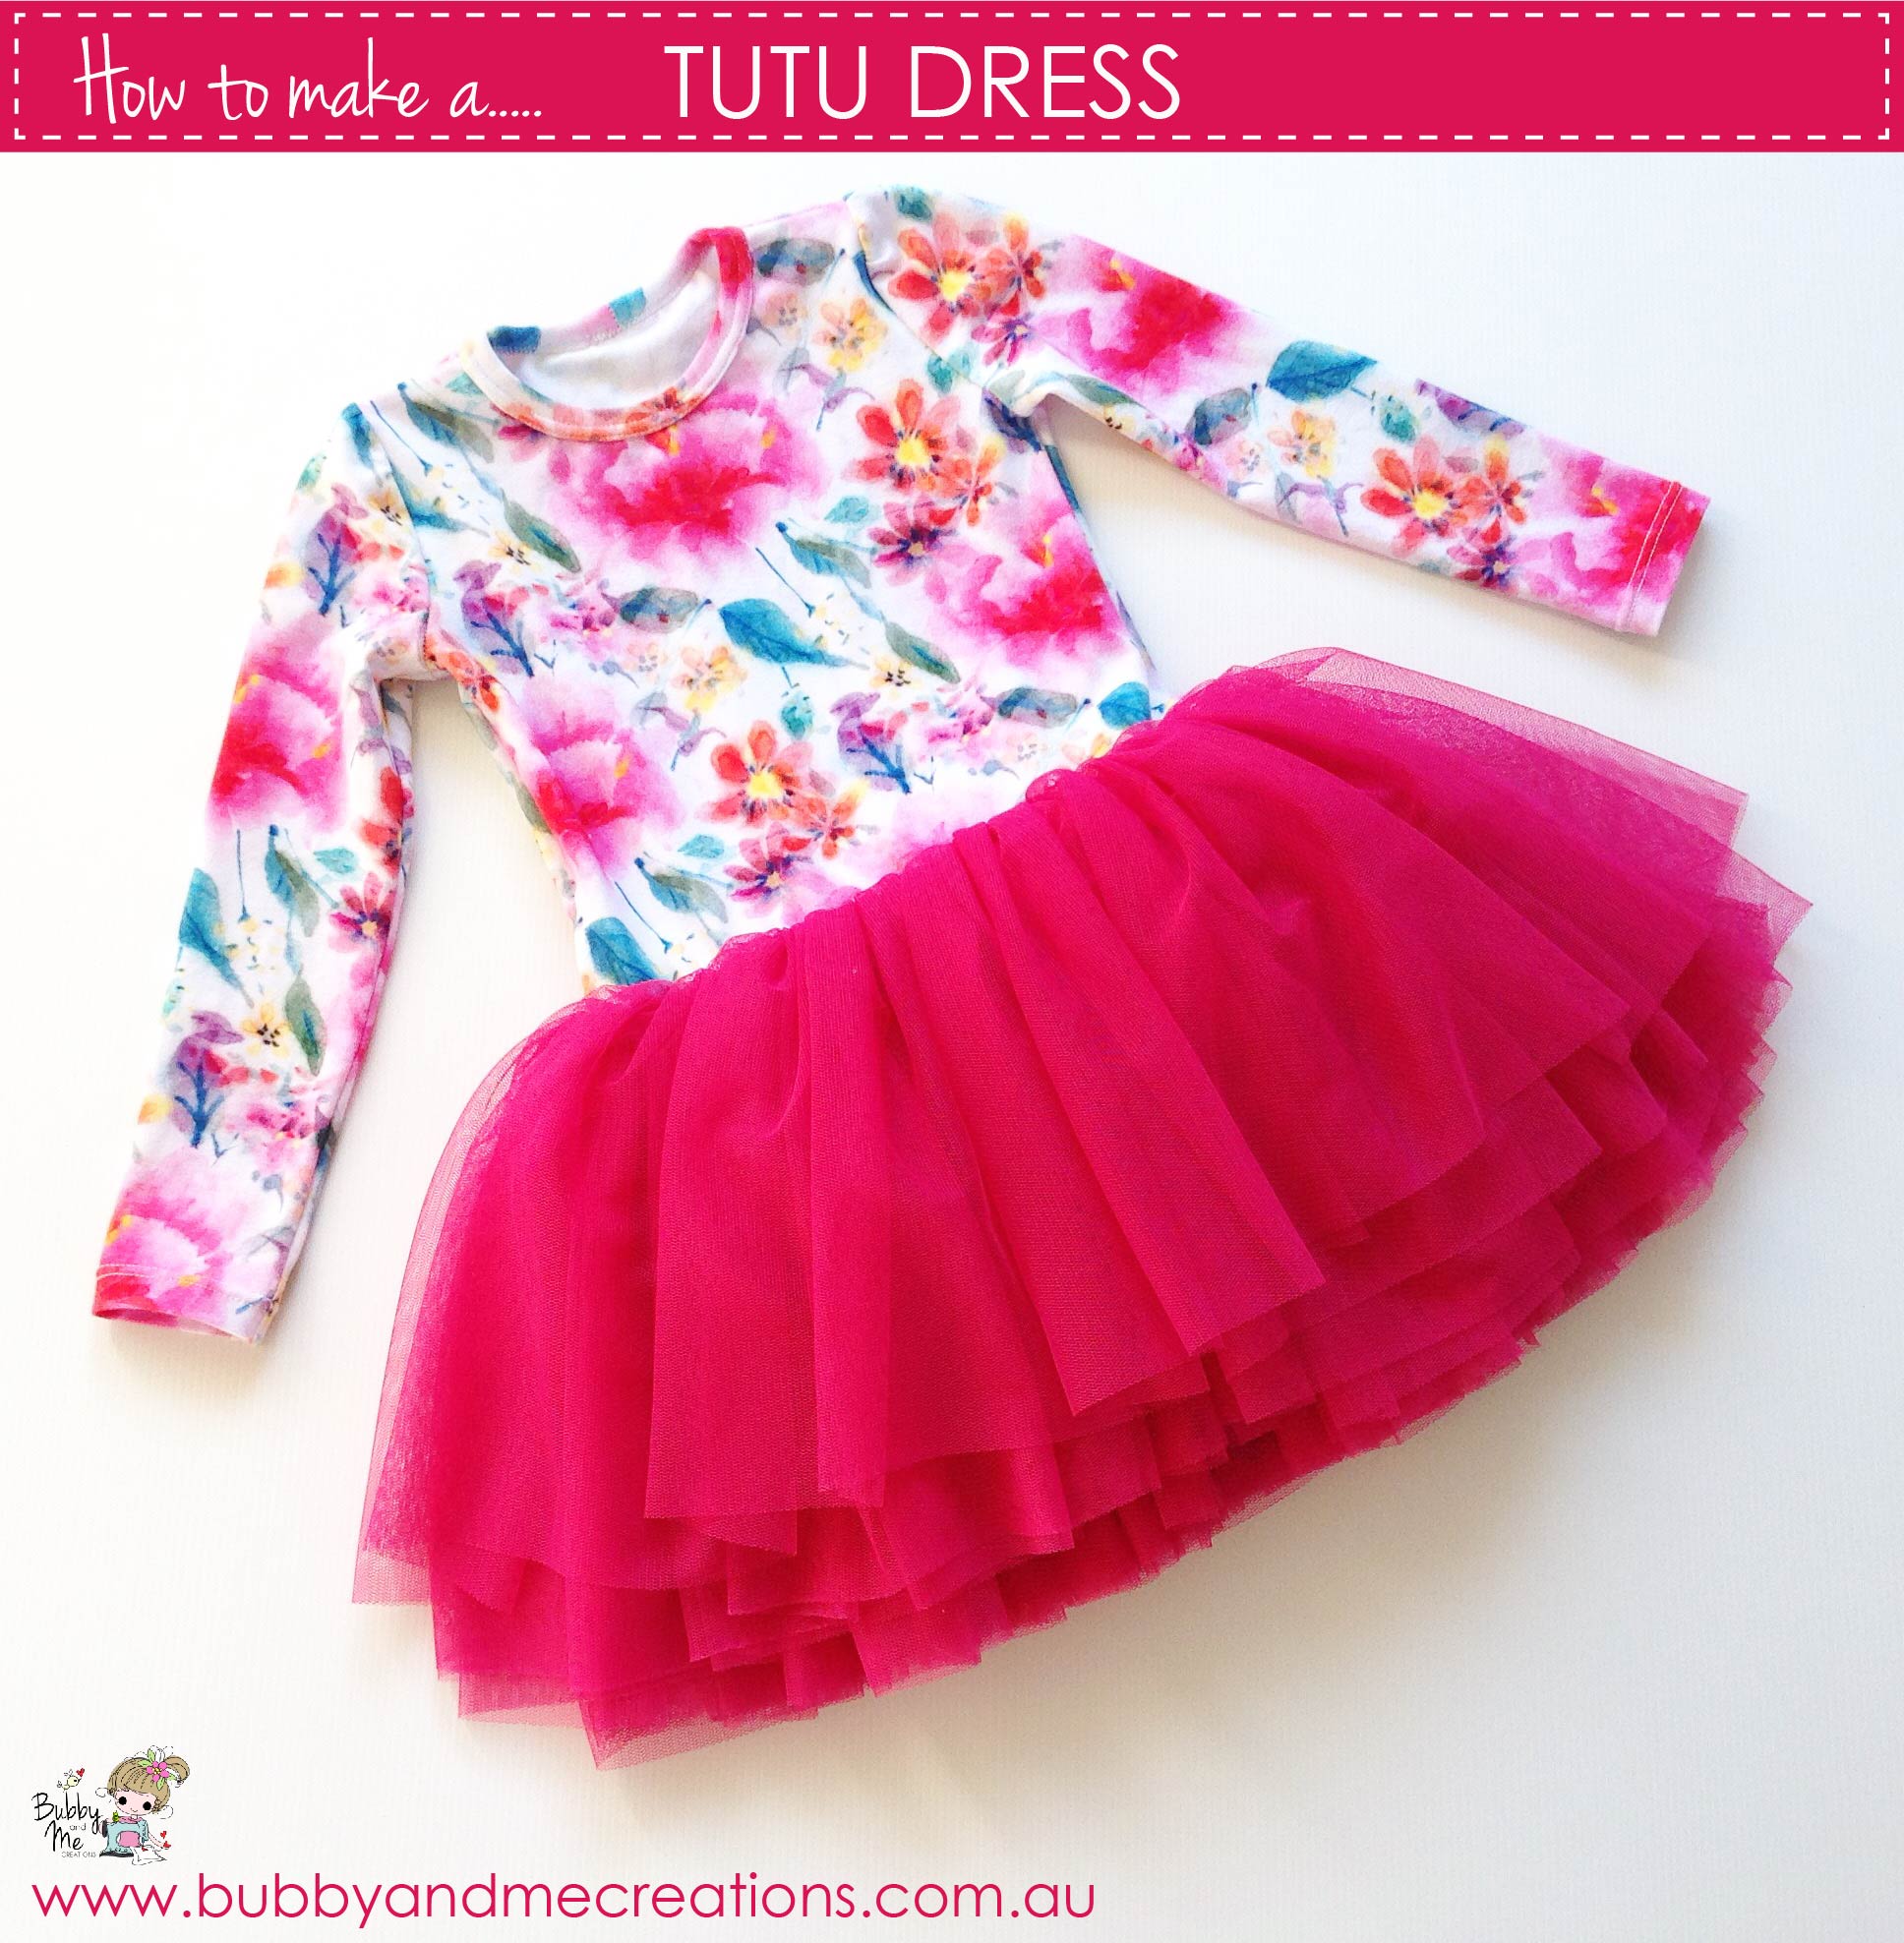
Tutu Dress
I think one of the best things about sewing is being able to recreate something that you really like. Maybe it’s something you’ve seen in a shop that you can’t really afford, or it’s something that’s no longer available in a shop. In this instance, it’s the later.
Emily was lucky enough to receive this dress as a hand me down, but even though she loves it, it’s too big for her at the moment. It’s a style of dress, I think, every little girl loves (I know the original owner of this dress loved it very much)! So I thought I would make her one that she could wear now so she could twirl to her hearts content!

{Dress originally from Rock Your Baby}
What you’ll need:
- Ari Tshirt Dress PDF pattern
- Cotton/lycra knit fabric for dress body
- Tulle for skirt (I used this one from Spotlight as it’s very soft and floaty) – see STEP 3 on how to calculate how much you’ll need.
- Shirring elastic
STEP 1
Before cutting your fabric, you will need to lengthen the bodice to your desired length. I measured to just under Emily’s butt and lengthened the bodice accordingly (don’t forget to add your hem allowance!). I made the gathered, long sleeve option. Choose your sleeve option and then cut out fabric pieces – lengthened bodice (front and back), choosen sleeve option, neck band.
STEP 2
Sew up your dress section following the instructions in the pattern (STEPS 1 TO 17) but make sure you complete the bodice by hemming it.
STEP 3
To calculate how much tulle you’ll need, firstly measure around your finished hem of the dress. Mine measured 56cm (22″). Now depending on how full you want the skirt, multiply this by 2 (I did 2.5 and found it to be a little fuller than what I would have preferred), or your preferred amount. My finished width ended up being 140cm (55″).
To calculate the length, I popped the finished bodice on Emily and marked a point where I wanted the tulle to start and measured down to her knee. This was 24cm (9.5″). Multiply by 2 and you have your length (48cm (19″) was what I used).
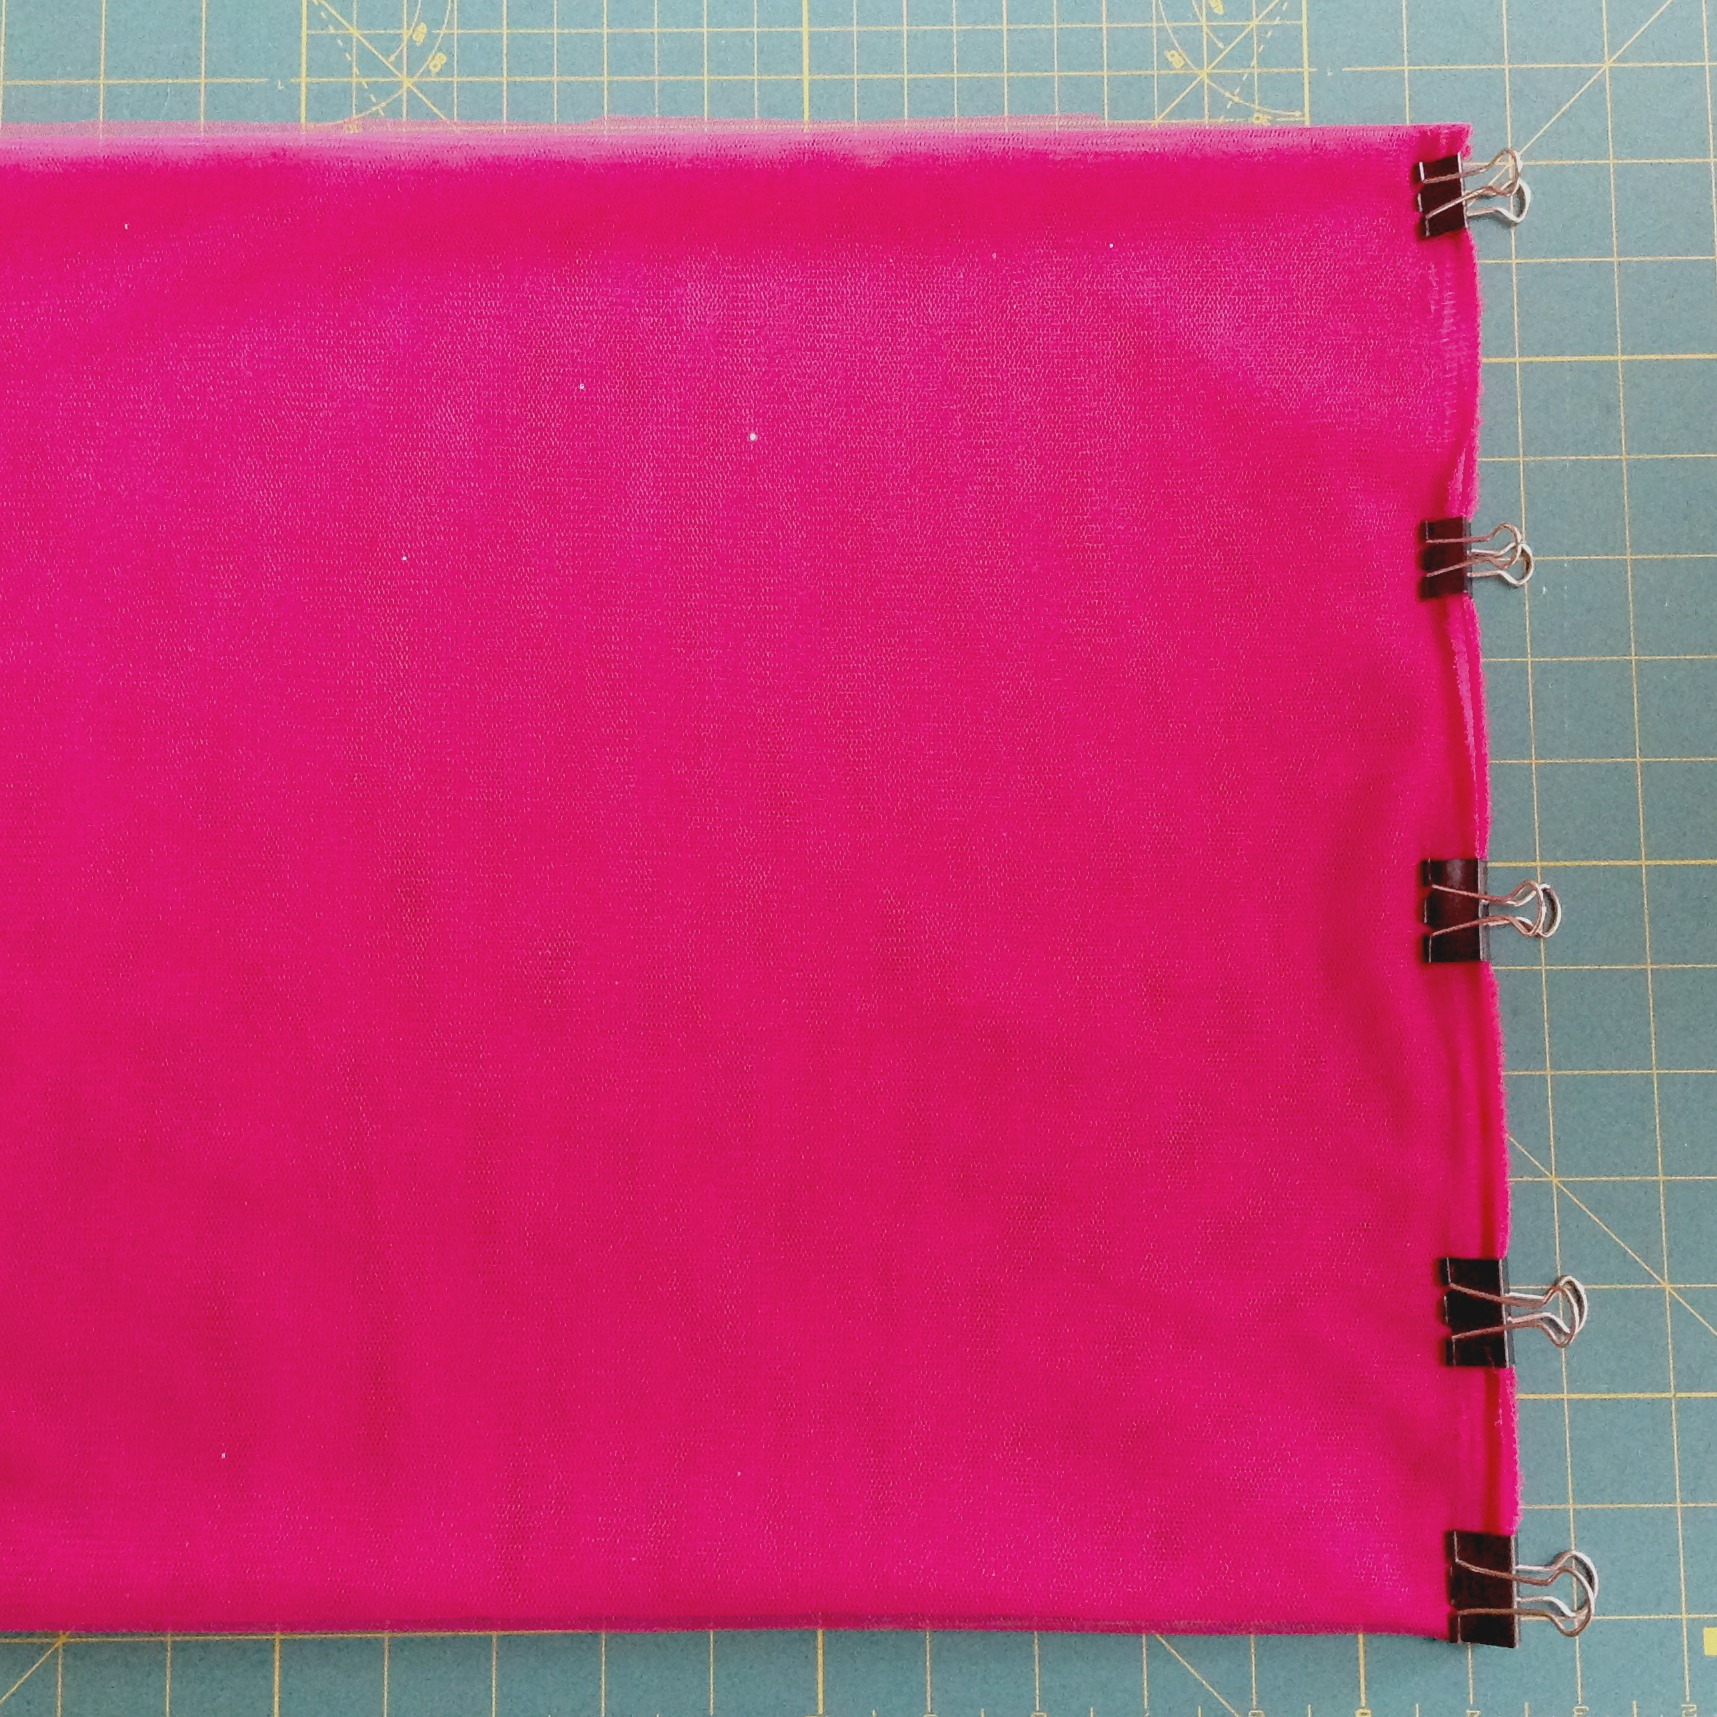
You will then need 3 pieces of tulle in these measurements (my finished measurements were 280cm (110″) X 48cm (19″)). To make it a little easier to cut my tulle rectangles, I lined up one selvedge and used bulldogs clips to hold it (you could use pins or wonder clips). I then used a ruler and rotarty cutter which was a massive help in stopping the tulle from moving while I cut.
STEP 4
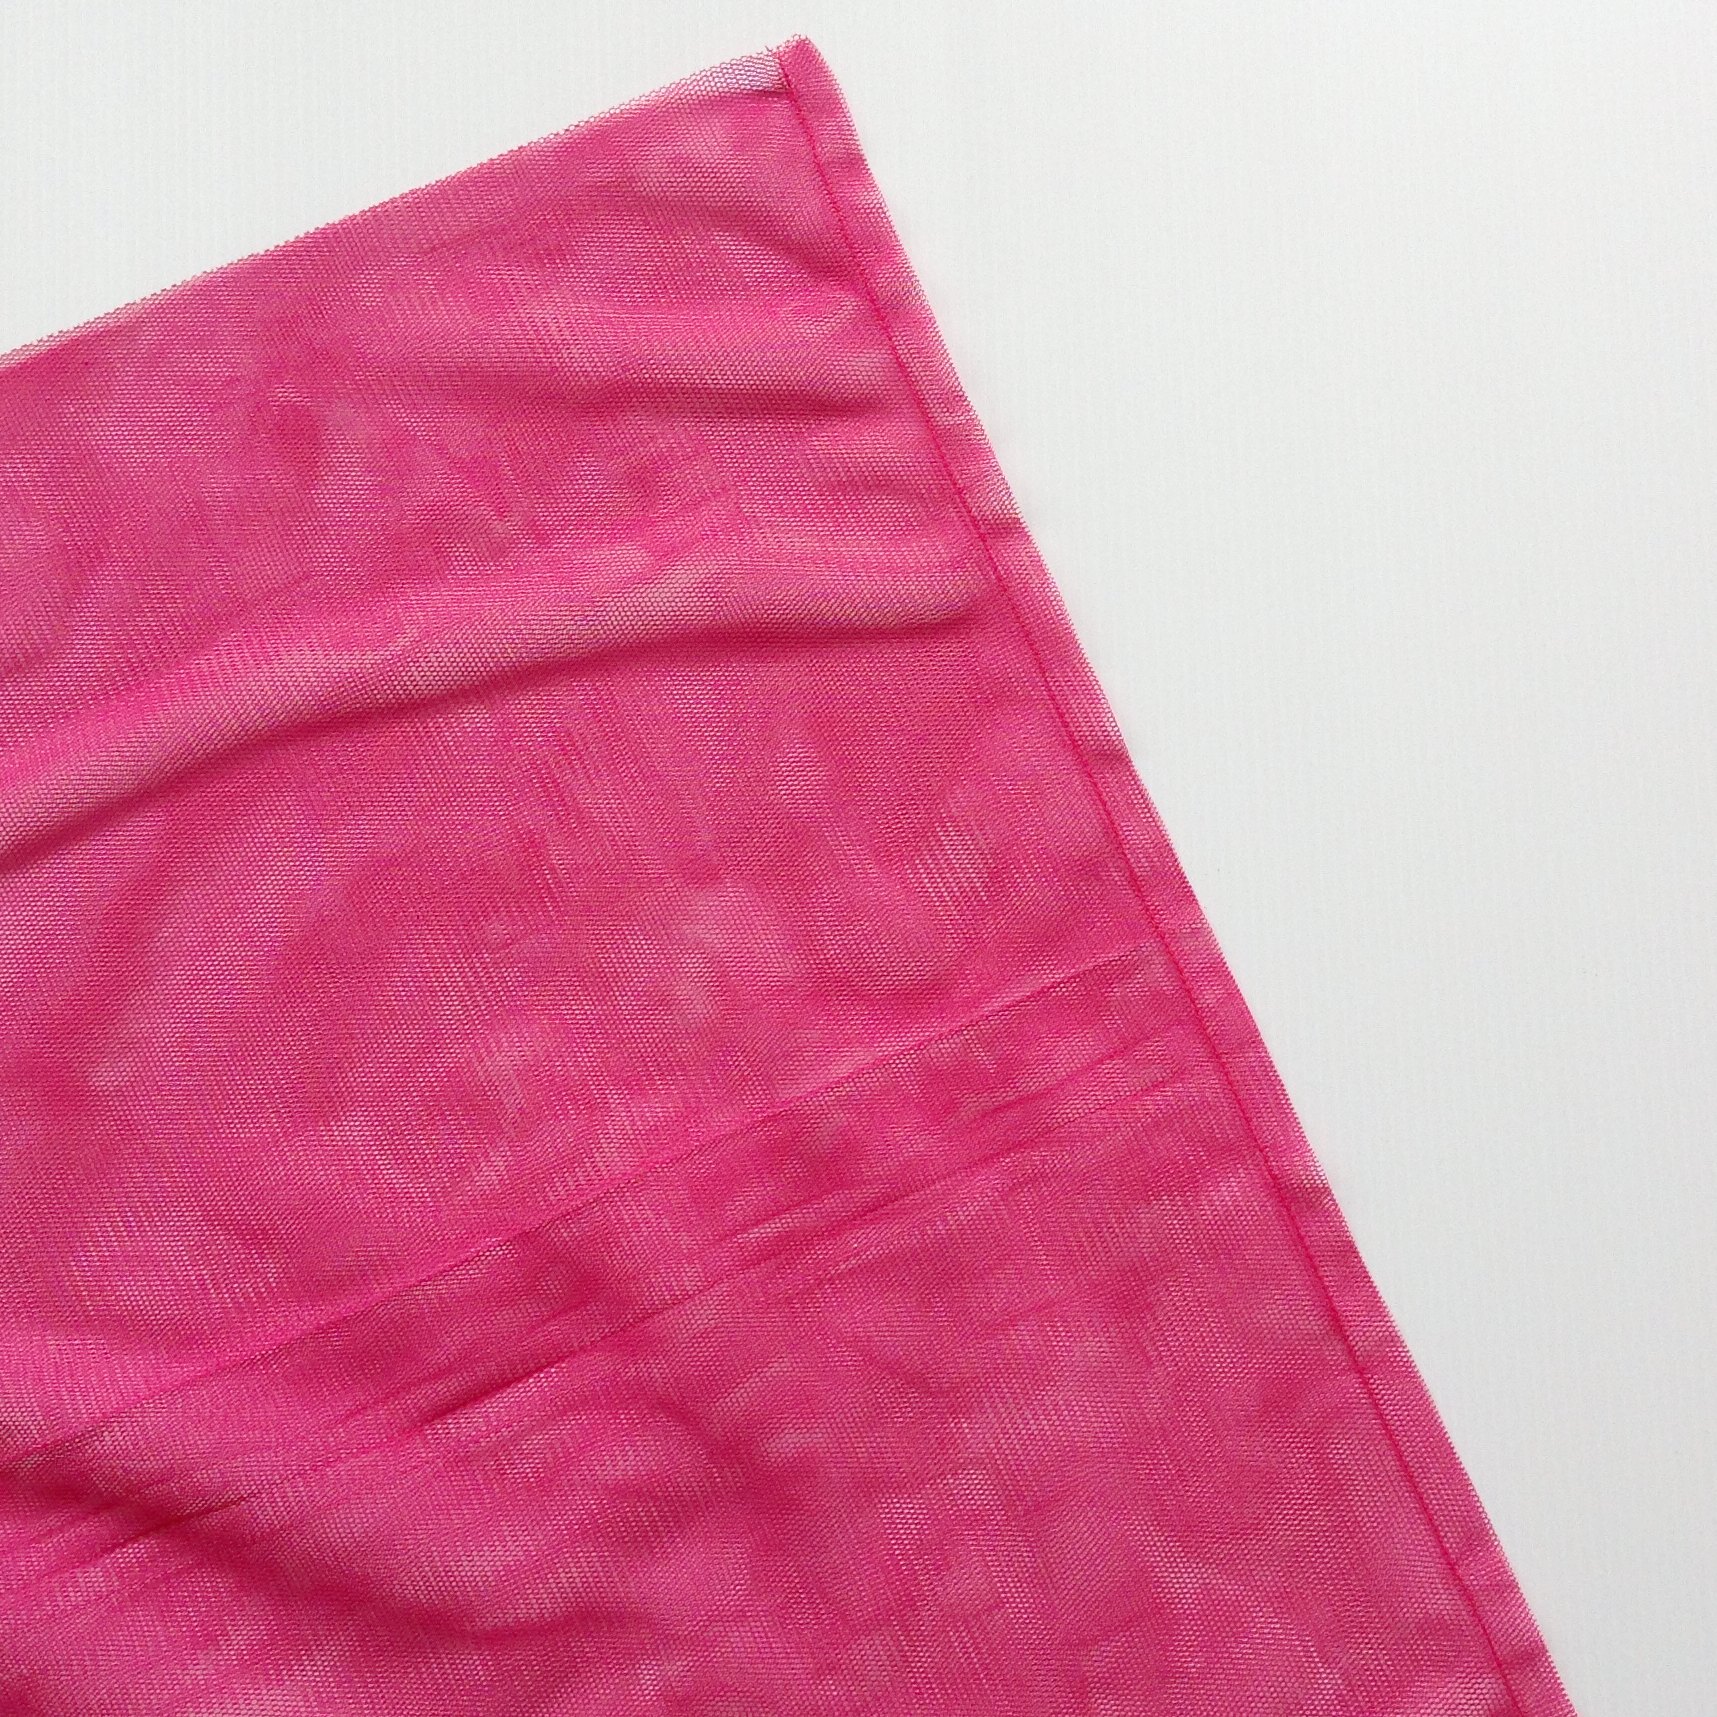
Starting with one tulle piece, line up the side seams and stitch together. Seam allowance is really up to you…I used 1cm (3/8″) then trimmed it by half.
STEP 5
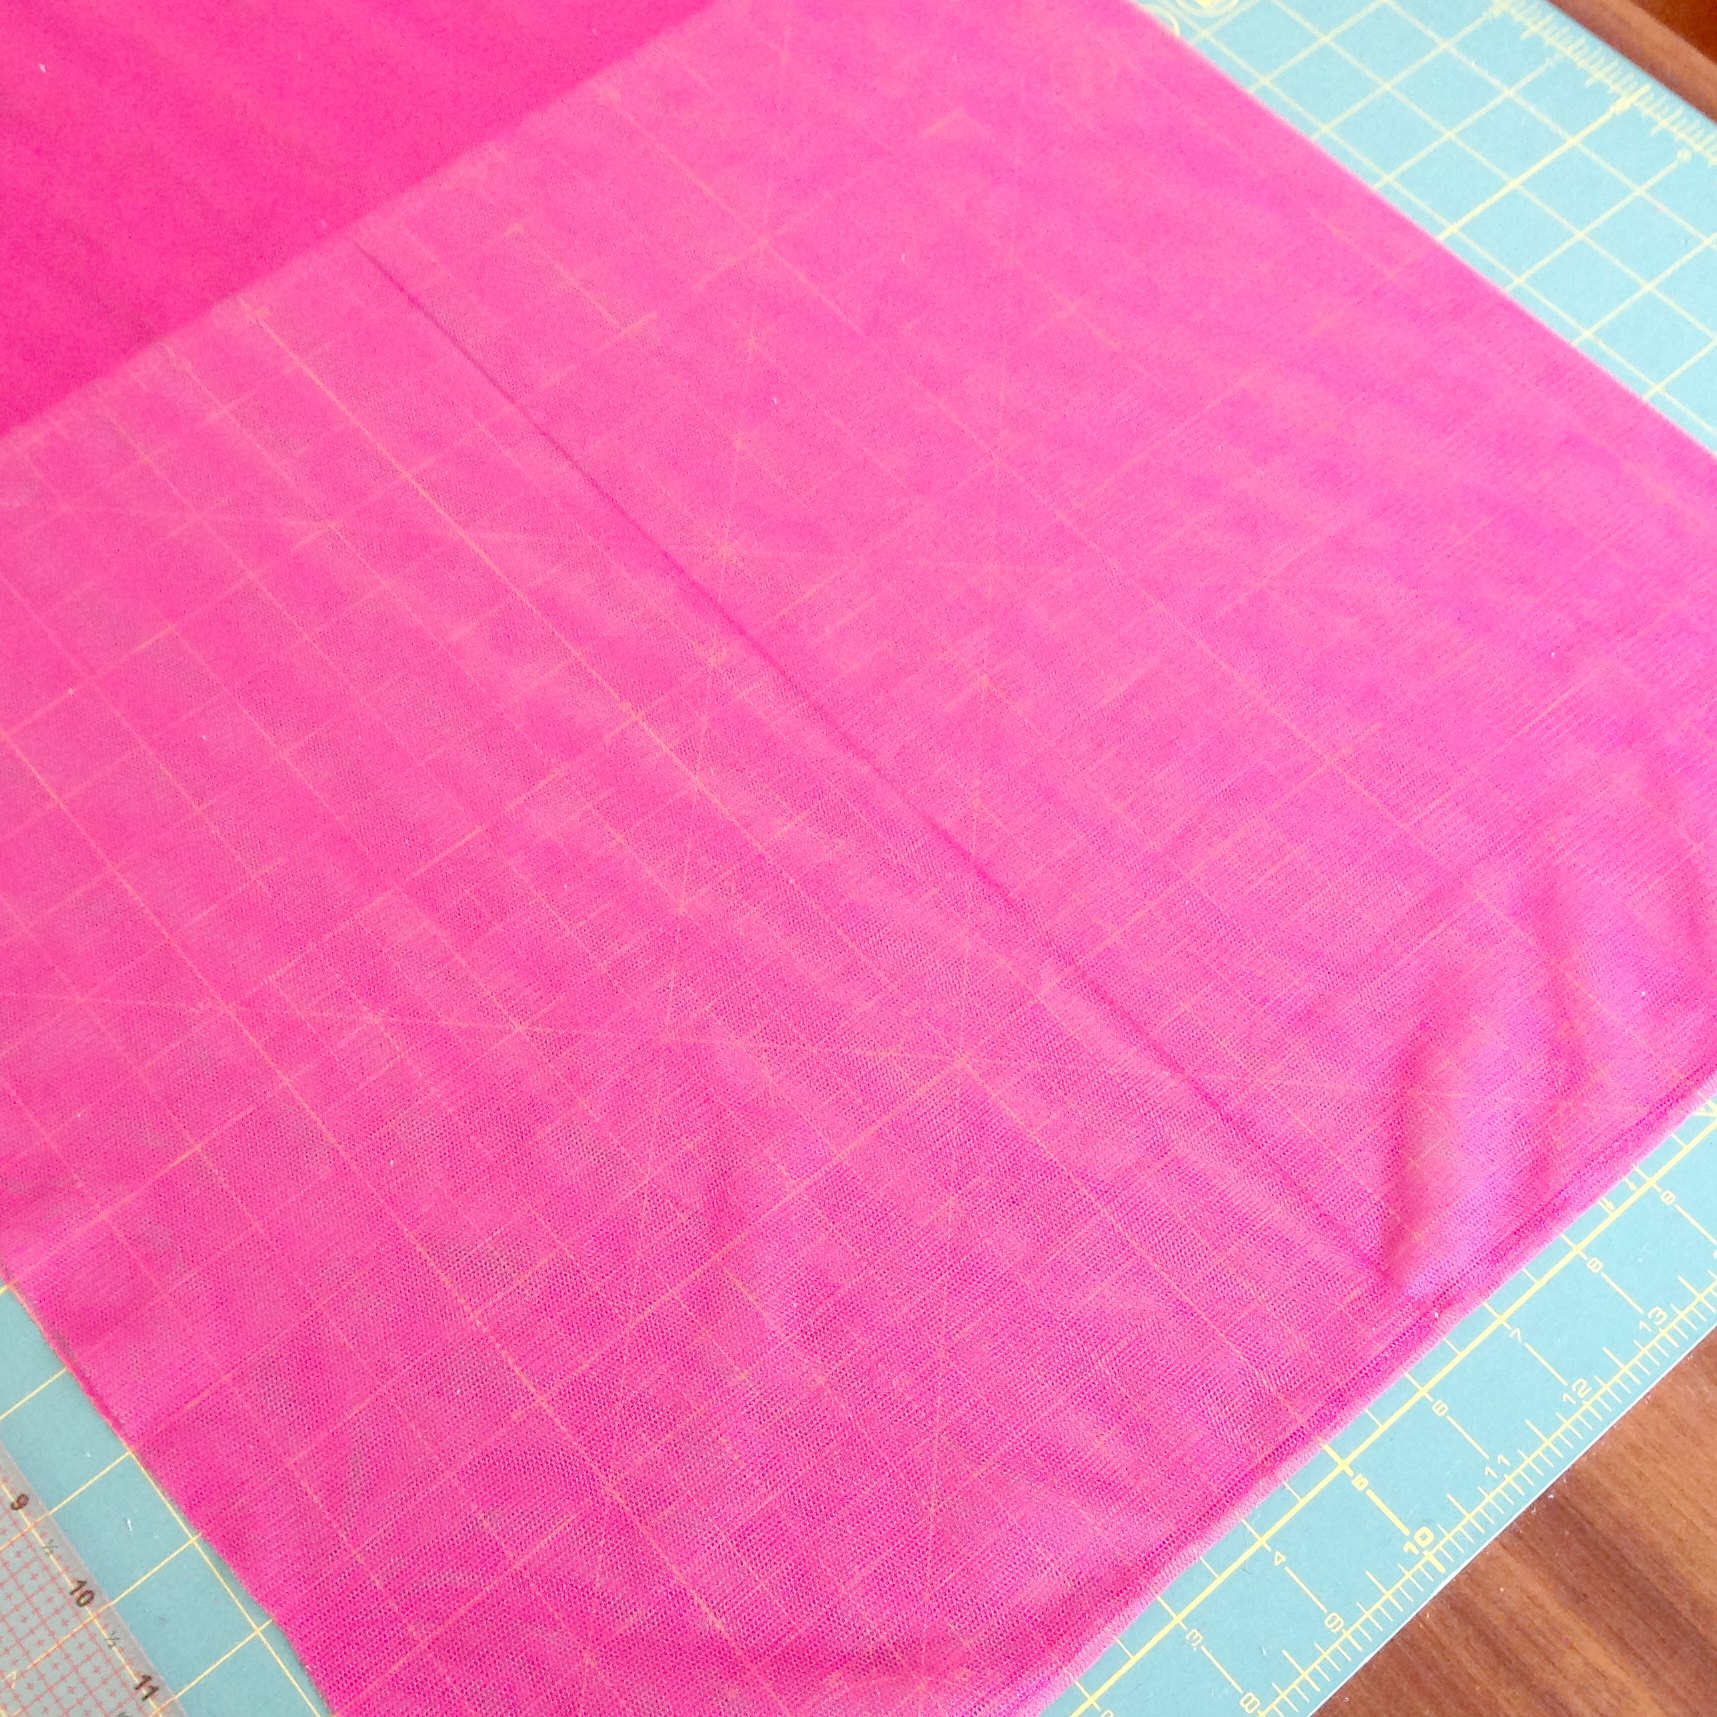
Now you need to measure along the centre width of the entire length and mark as you will need to stitch along this marking. I’ve drawn a line along the centre using a fabric marker. (Repeat for remaining two sections).
STEP 6
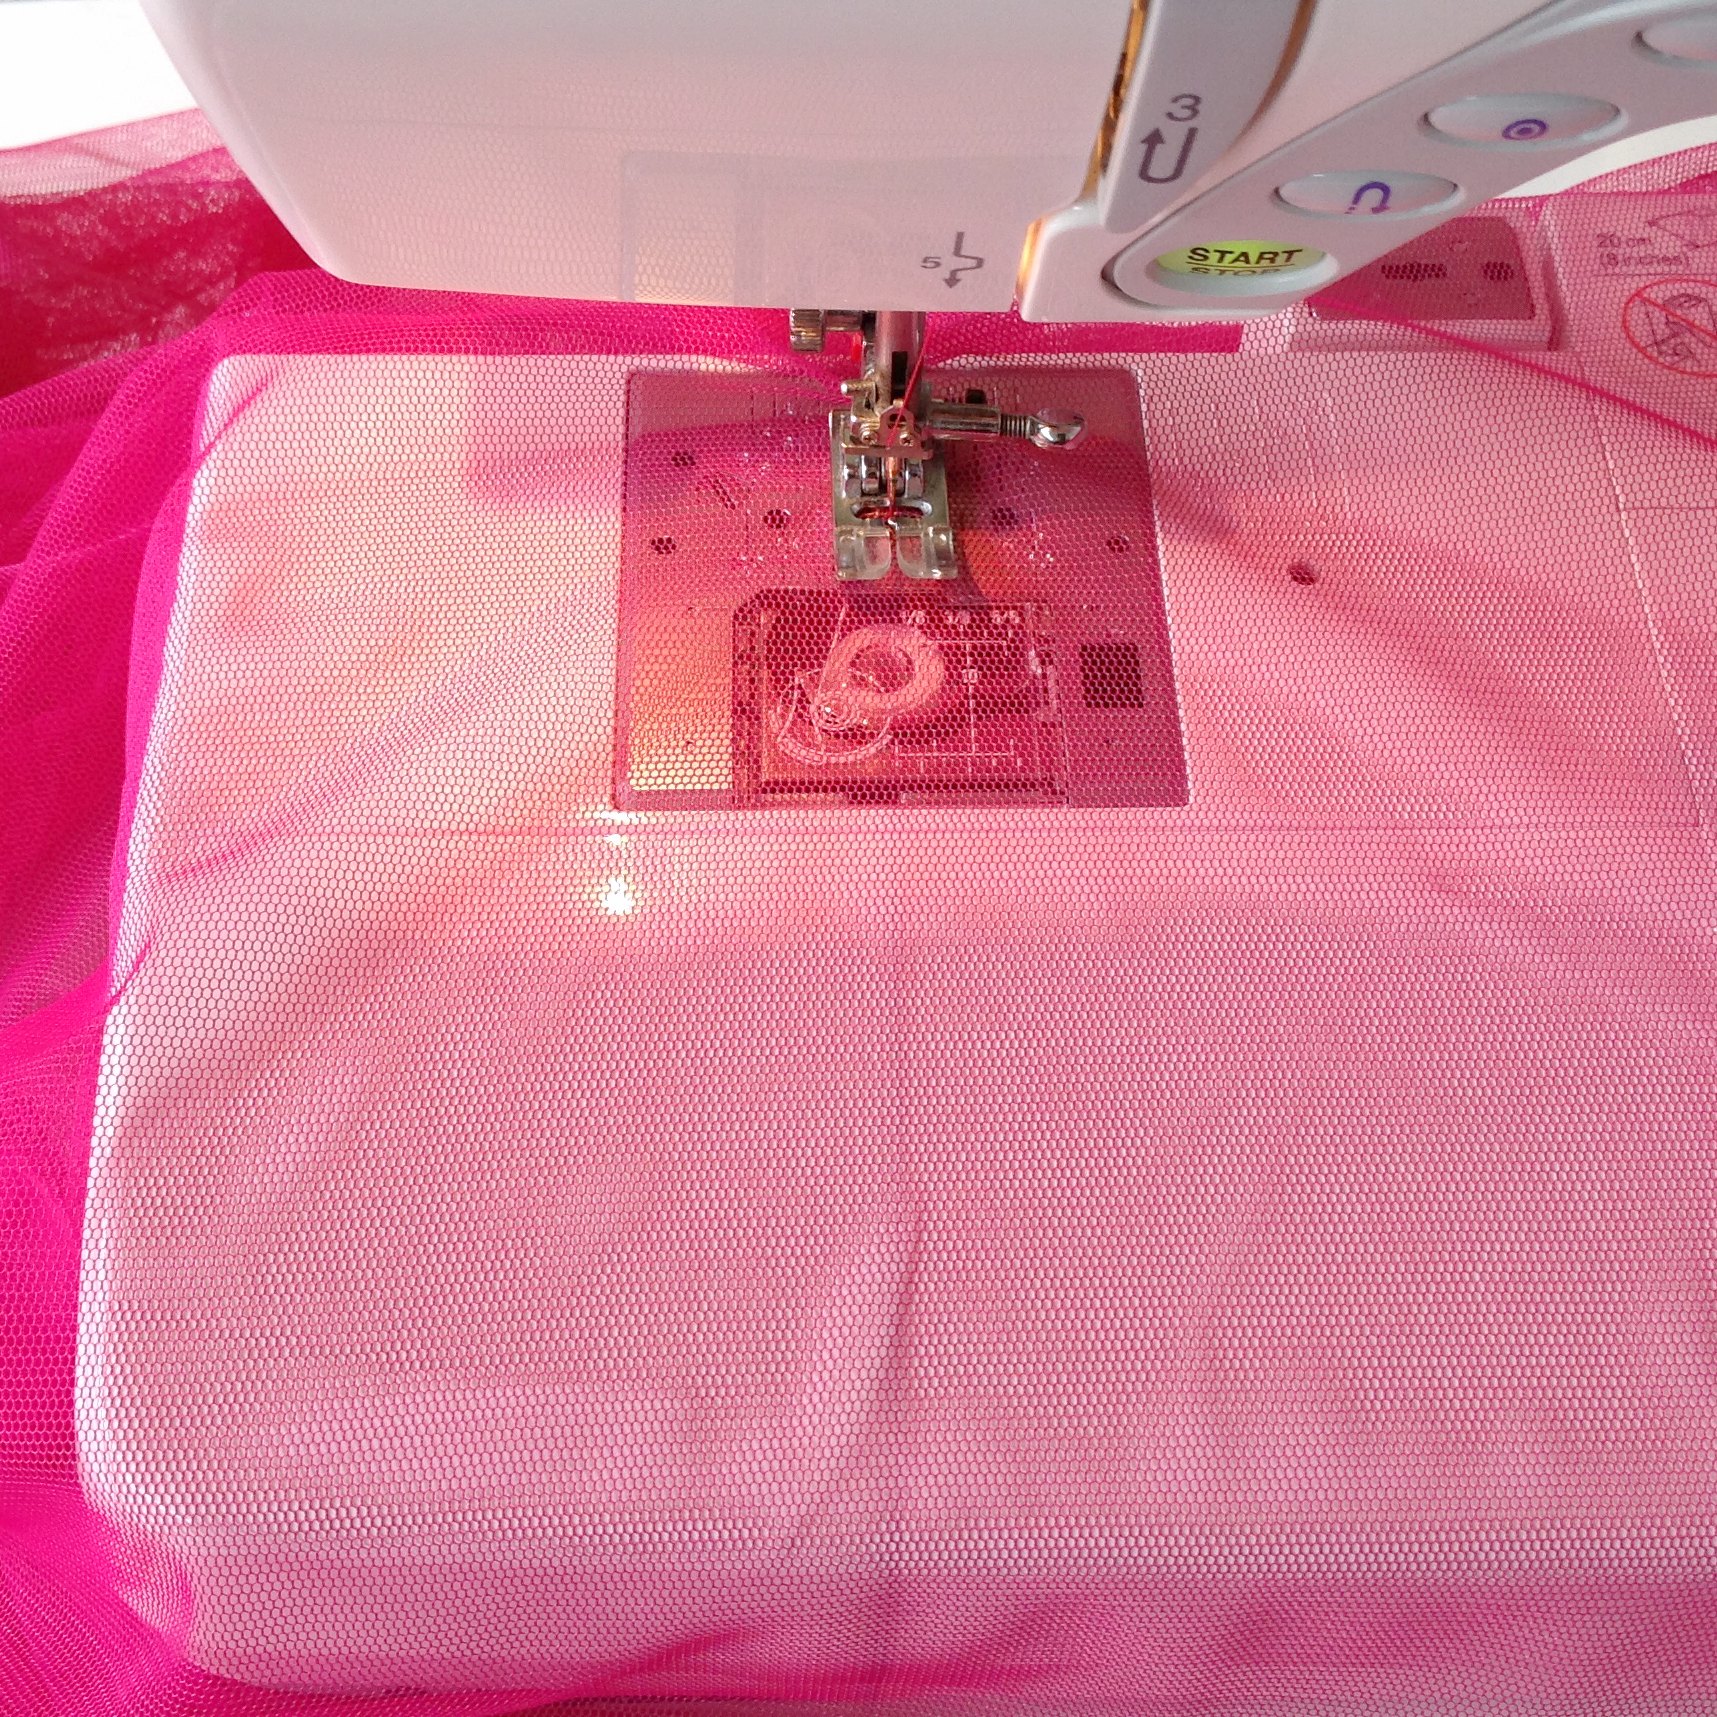
Carefully hand wind your bobbin with the shirring elastic till full and place back into the machine. Using the longest straight stitch setting, stitch along the centre marking line you just made. You’ll notice it’s not that easy to see but you can still make it out. As you stitch, the tulle will softly start to gather. (Repeat for remaining two sections).
STEP 7
On your bodice, draw a line around the front and back from where you originally marked the placement of the skirt. Measure down 1cm (3/8″) and draw another line. Repeat again so you have three lines in total.

STEP 8
I’m not going to lie, this part is a little fiddly. Starting on the bottom line, you want to match up the stitched line of the tulle along this drawn line of the bodice. With right side of the tulle and bodice together, match up the side seam of the tulle with one side seam of the bodice and evenly pin the tulle around. The shirred stitching won’t have gathered the tulle up to a perfect fit but I found that if you used a gathering stitch and pulled up your gathering, you have a high chance of the seam breaking when getting the dress on and off. The shirred elastic will give it some stretching ease.
You will need to gather with your fingers a little as you work around the dress – make sure to pin well! (HINT: I used my sleeve irong board while pinning. I slid board in between my bodice which allowed me to pin without catching both sides of the bodice).
When pinned in place, stitch tulle to bodice along the stitching line of the tulle using a longer straigth stitch than normal, but not quite your longest (my regular stitch length is 2.2 and used 4). (Make sure you still have your shirring elastic in your bobbin).
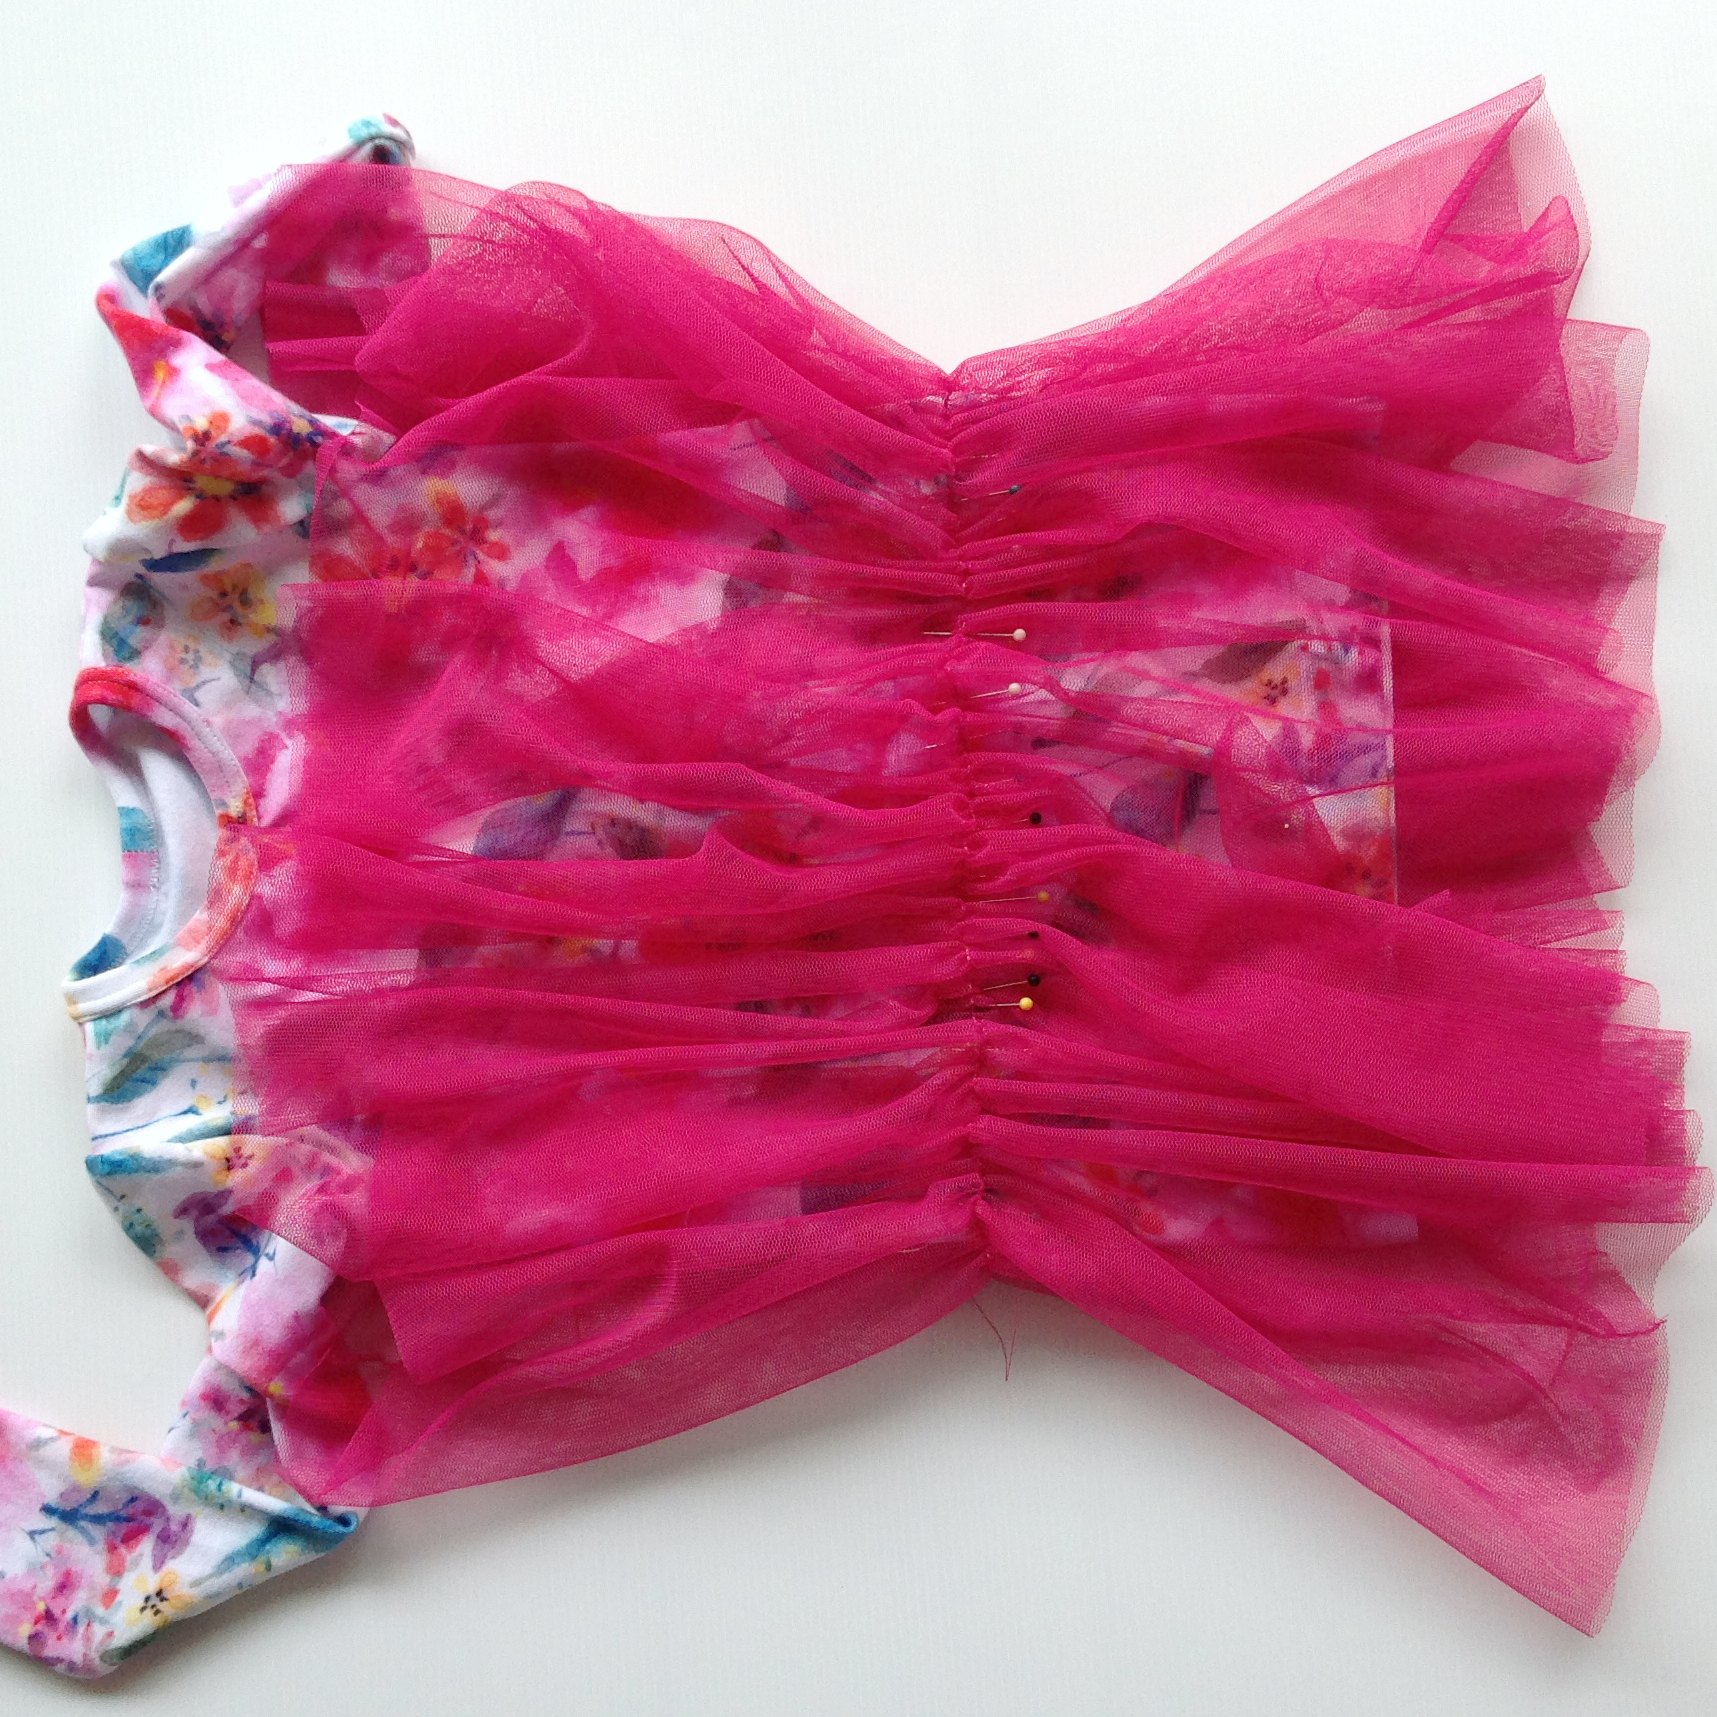
Repeat for remaining pieces, matching and stitching tulle to remaining line on the bodice and making sure to keep already stitched tulle out of the way when sewing. When stitching what will be your top piece of tulle, make sure you stitch just above the tulle stitching line otherwise this will be visible when you flip the skirt down.
STEP 9
Flip all the tulle skirt pieces down and stand back and admire your tutu dress!
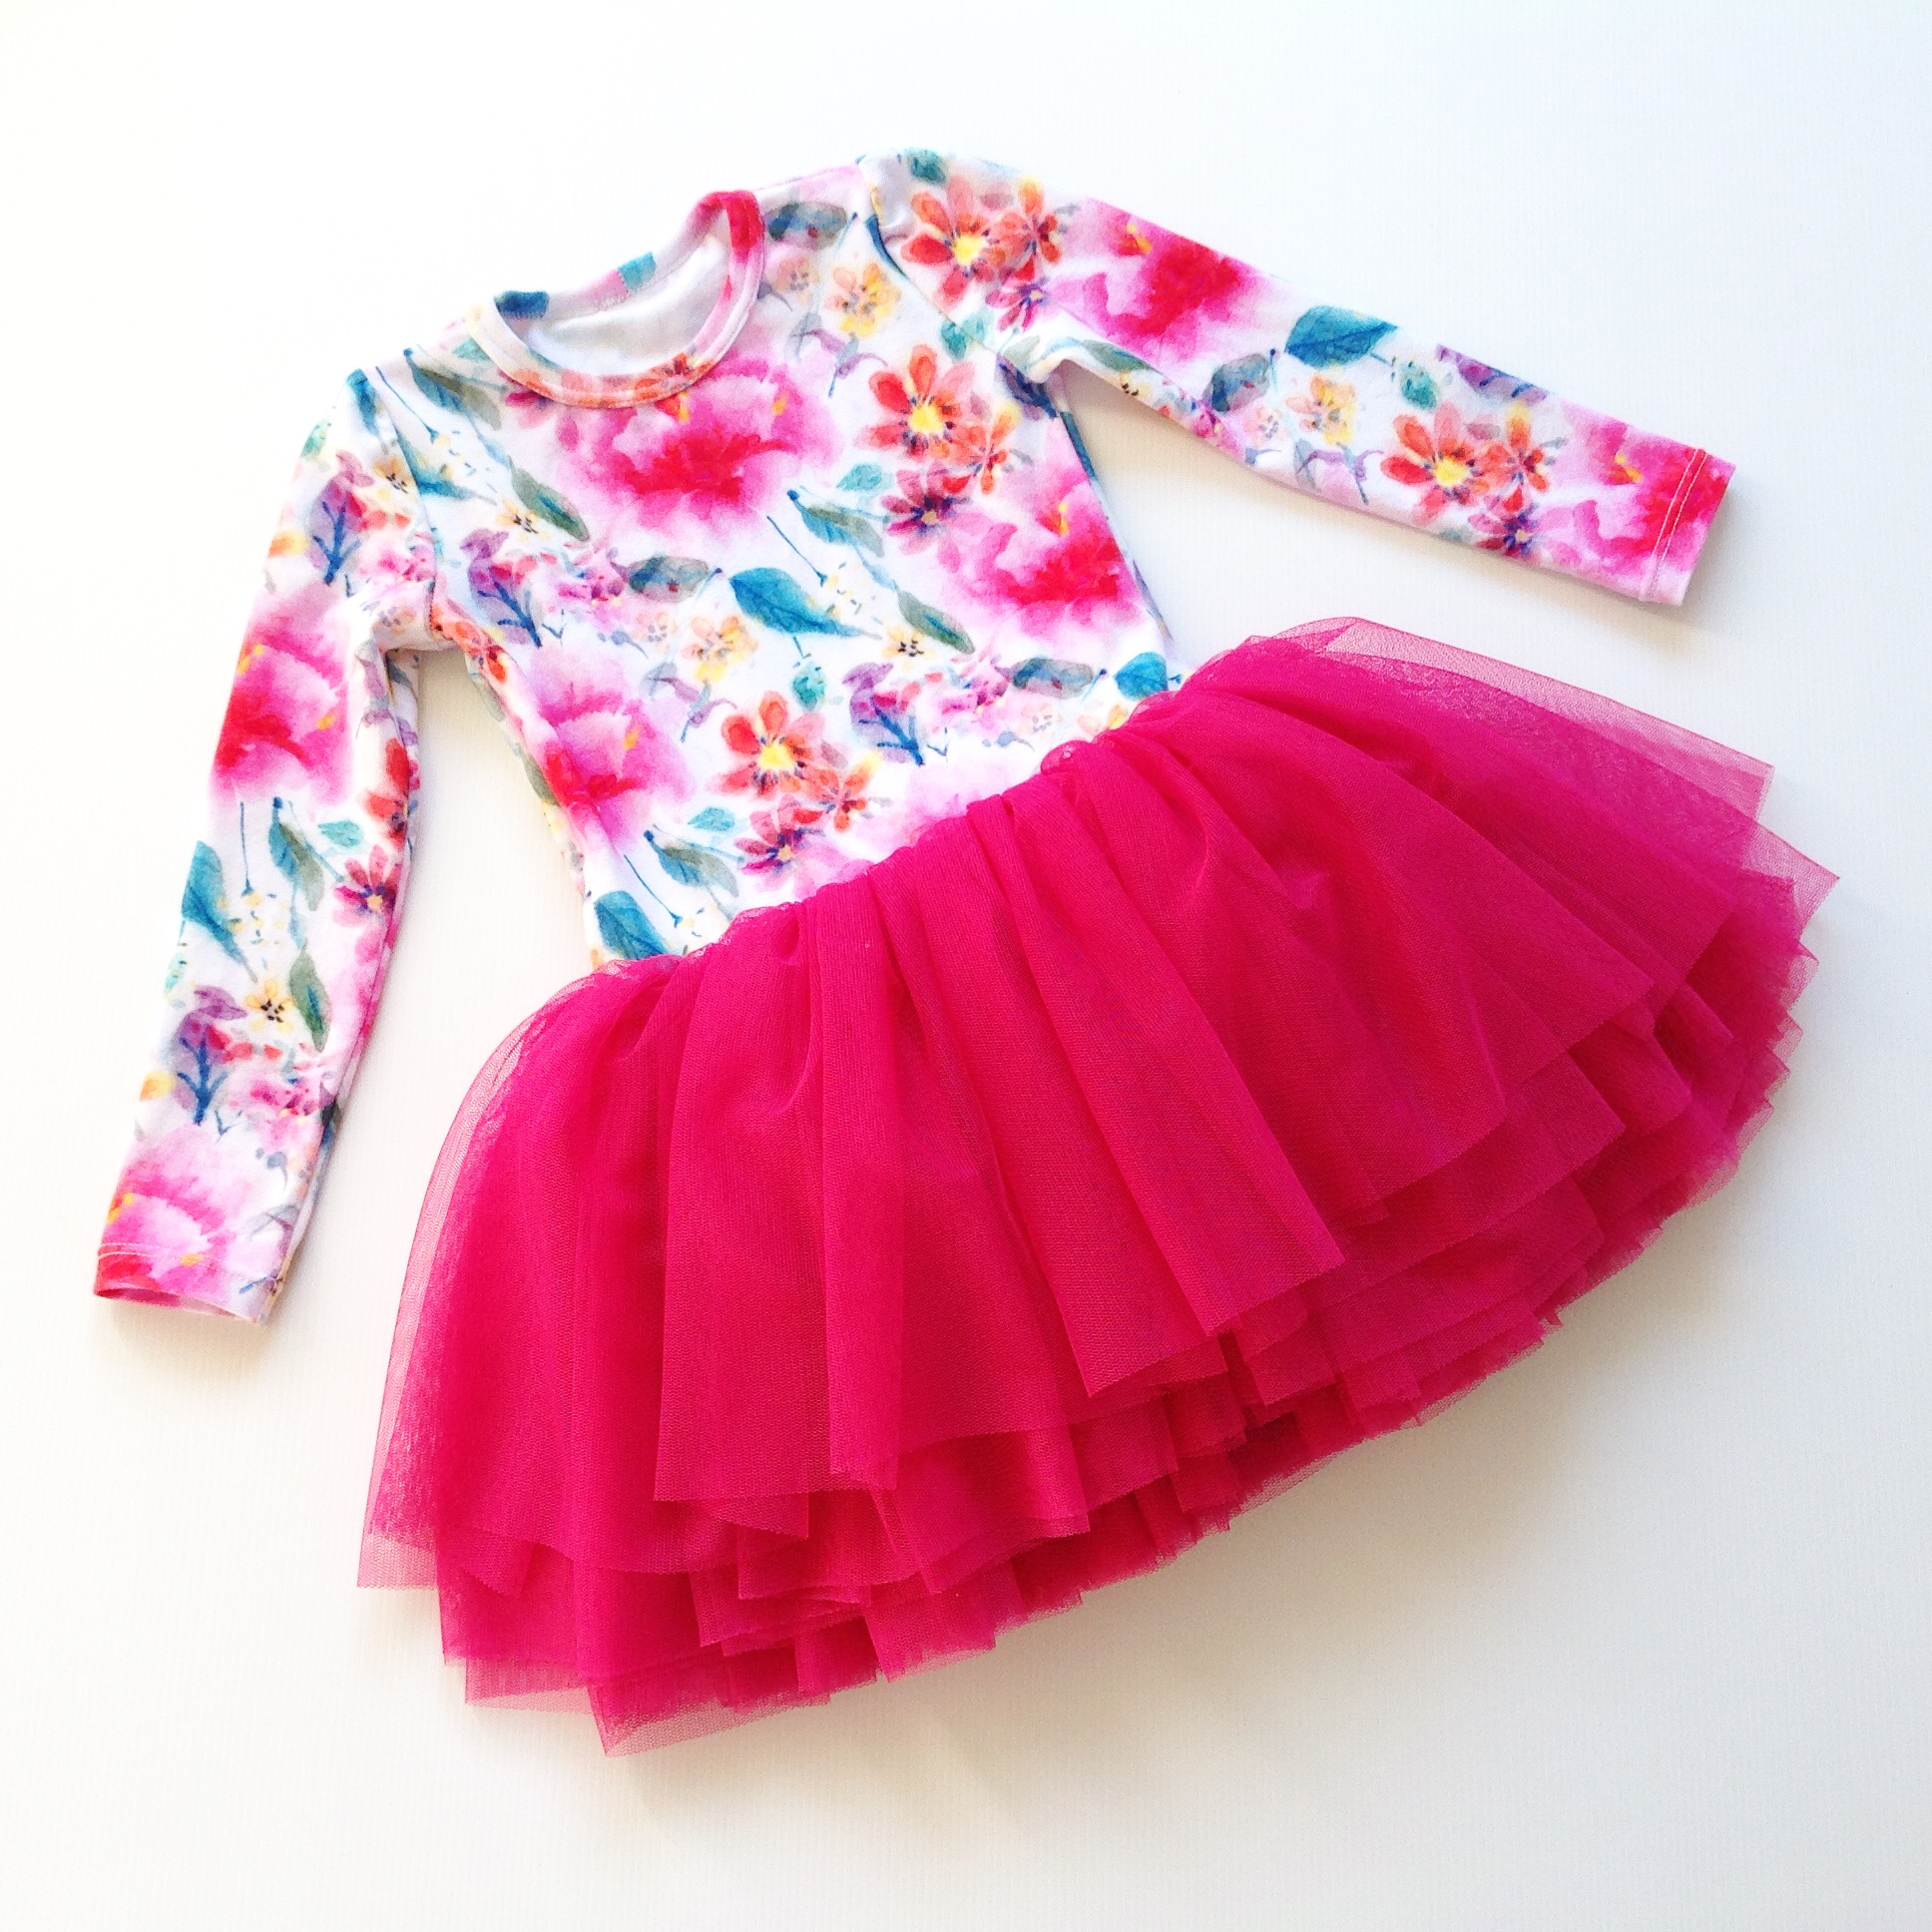
Then pop it on your little Miss and watch her twirl away…